
Download Outlook for iOS from the iOS App Store and then open it. The icon looks like this:

Note: See system requirements for your iOS devices here.


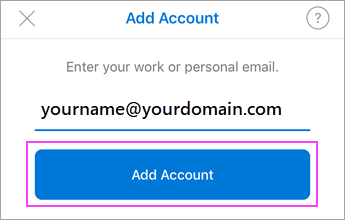
If it’s your first time using Outlook for iOS, enter your full email address, then tap Add Account.
If not, open the Menu > tap Settings  > Add Account > Add Email Account.


If you’re asked to select your email provider, please contact your IT admin for support as there may be a misconfiguration.


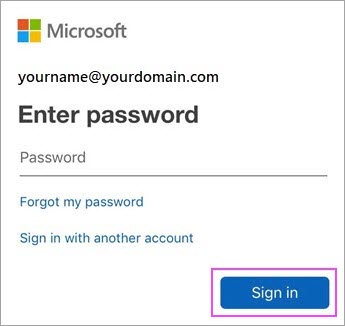
Enter your email account password and tap Sign In.
Note: The sign in screen may look different for you depending on your email provider.


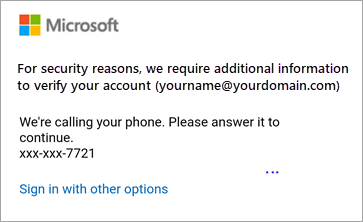
If multi-factor authentication is enabled, verify your identity. 


Accept any prompts for permission you may receive.
Swipe through the features and you’re now ready to use Outlook for iOS!
